
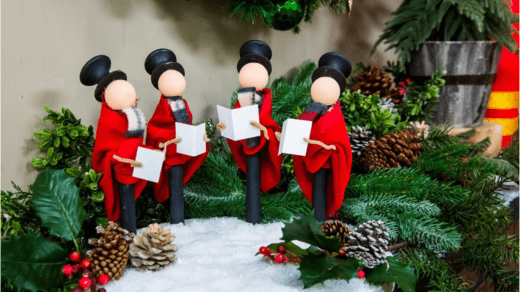
Creating a Christmas carolers scene or figurines can be a fun and festive holiday craft. Here’s how you can make Christmas carolers:
Materials You’ll Need:
- Polymer clay in various colors (for the carolers’ bodies, clothing, and accessories)
- Craft wire (for armature, optional)
- Sculpting tools (small knives, needles, and other clay tools)
- Acrylic paint (for fine details)
- Paintbrushes
- Rolling pin
- Baking sheet
- Oven (for baking polymer clay)
- Clear nail polish or glaze (optional, for a shiny finish)
- Small craft accessories (e.g., miniature musical instruments, tiny hats, scarves, etc.)
Instructions:
1. Plan Your Carolers:
- Decide on the number of carolers you want to create and plan their poses and outfits. Sketch a rough design if it helps.
2. Create the Armature (Optional):
- To provide stability and structure to your carolers, you can create a wire armature for each figure. Twist craft wire into a simple frame that represents the basic shape of the caroler’s body and limbs.
3. Sculpt the Bodies:
- Take polymer clay in the desired color for the caroler’s body and shape it around the armature (if used) or mold it directly into the desired pose. Use your sculpting tools to create the details like faces, hands, and clothing folds.
4. Add Clothing and Accessories:
- Create clothing for your carolers by layering additional colors of polymer clay onto the body. Sculpt tiny hats, scarves, and other accessories. You can also add miniature musical instruments if desired.
5. Texture and Fine Details:
- Use sculpting tools to add texture and fine details to the clothing, such as fabric lines, buttons, and ribbons.
6. Bake the Clay:
- Preheat your oven according to the instructions on your polymer clay package.
- Place the carolers on a baking sheet and bake them in the oven for the time specified on the clay package. Typically, this is around 15-30 minutes at a low temperature.
7. Paint (Optional):
- Once the clay carolers have cooled, you can paint fine details like eyes, lips, and facial expressions using acrylic paint. Be patient and take your time with this step for the best results.
8. Glaze (Optional):
- If you want a shiny finish, you can apply a clear nail polish or polymer clay glaze to your carolers. Allow it to dry completely.
9. Assemble Your Scene:
- Arrange your carolers into a festive holiday scene. You can place them on a small display base or incorporate them into your holiday decorations.
10. Enjoy and Share:
arduinoCopy code
– Once your Christmas carolers are complete and arranged, you can proudly display them in your home or share them as unique holiday gifts.
Creating polymer clay Christmas carolers allows you to personalize your holiday decorations and add a touch of creativity to your festive celebrations. You can customize their outfits and poses to fit your desired holiday scene.